The map. For ease, I’ll break down the major parts. The town of Crickton lies to the South West, bordered by the Trulbrich River. To the North East, we have the neighboring village houses outside the walls of the town. In the South, toward the center of the field, a hill creates a useful vantage point of the region.
A patrol from Crickton returning to town.
Baron Rivernette readies his men to defend the town, as he’s received word that Lord Feldcutter is on his way in force to lay siege to the town.
Lord Feldcutter travels ahead with a retinue of archers, meeting with the villagers in an attempt to garner cheap troops and a peasant revolt in his favor.
The main body of Feldcutter’s forces approach from the South East, leading a supply train for a siege.
Turn 1: The Crickton patrol heads for the bridge.
Lord Feldcutter attempts to convince the peasants of his cause, but they are not sure, merely “considering the offer” and not ready to take the plunge.
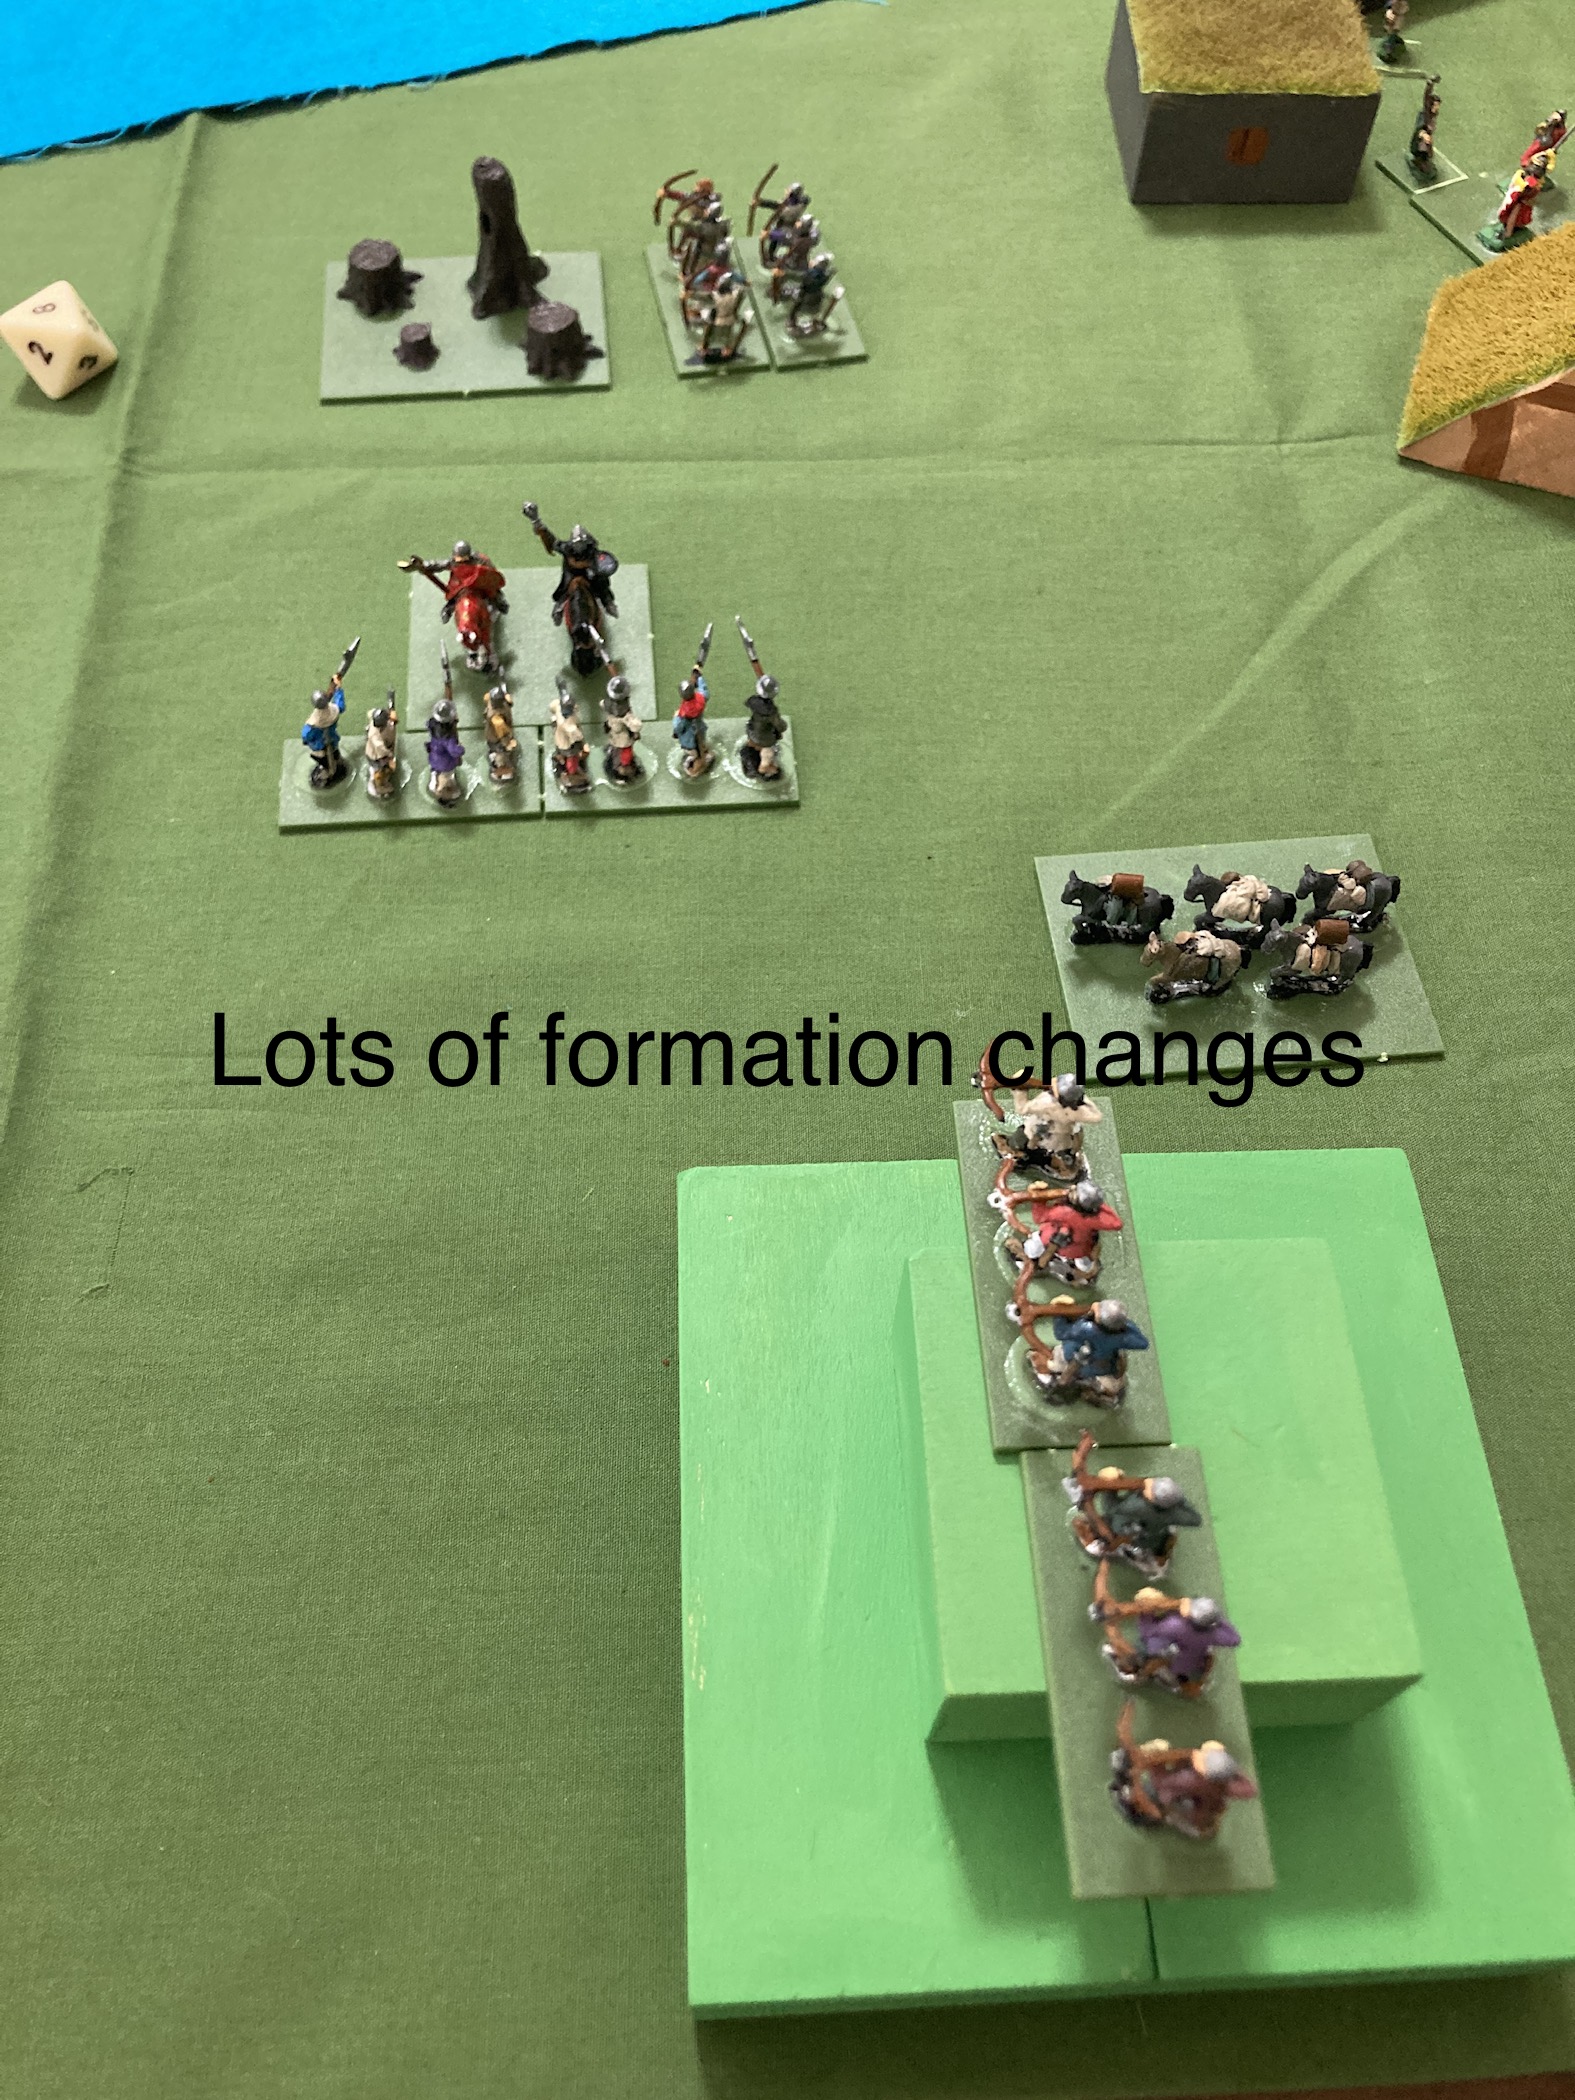
Feldcutter gains initiative on turn 2 and his forces begin to form up. Mounted sergeants change from column to line, bills move to fill the gap, and crossbows approach the hill.
Meanwhile, the Crickton patrol begins crossing the bridge, the key development that will muster the garrison.
As turn three starts, the attacking crossbows take the hill, while the archers and sergeants advance, and the bills perform a formation change. The archers find a distinct advantage in the bog before them—the can’t be charged through it.
Meanwhile, Baron Rivernette and his foot knights sally out of the town to join with the patrol and fend off their unwelcome guests.
The Crickton knights reach the end of the bridge and change from column to line…only to be charged head on by Feldcutter’s sergeants! A bold move, but the hope is to run the knights from the field and entrap the slower foot troops in a vise of death!
Meanwhile, the foot soldiers of Lord Feldcutter take their desired positions; as he fails, for the third turn in a row, to convince these “letterless plebeians” (his words, not mine) to fight alongside him.
Unfortunately, the charge fails!!! The knights hold their ground and the melee that ensues sees the sergeants heavily damaged and beaten back to their lines!
Things only get worse for the sergeants when Crickton’s defenders win the initiative. The knights charge their rear, crushing them and driving them from the field, but themselves sustain heavy casualties from the archers and bills who rise to meet them.
The Blue Baron stays safely inside the covering range of his town archers, and safely outside the range of the besiegers’ bows.
Lord Feldcutter, rejected and dejected, finally decided to join the fight and aid his men.
The rest of the turn simply saw formation changes of the missile units and the Crickton infantry (on the next turn).
The Crickton foot prepare to join the fight!
As the heavy infantry of the Crickton patrol move forward, Feldcutter’s longbowmen tear them to shreds with a very high roll!
By turn 9, the armored foot had sent Feldcutter’s bills running, but they were joined and rallied by the lord himself. Baron Rivernette’s knights escaped their cruel fate and the hand of the hill men, and proceeded to terrorize the longbows (which they would do for the rest of the game!). Finally, the hilltop crossbows dealt paper cuts to the Blue Baron’s armored foot.
The difference between the end of turn 9 and the above photo speaks for itself. A massive melee ensued, and Baron Rivernette lost his foot troops. The knights (not pictured) continue chasing the longbowmen off the field through the village, where the villagers are still practicing the finest fence sitting and not picking a side. Maybe they’re just being smart, as it is a close game!
The knights stand amongst their hapless villagers, basking in the glory of their consolation prize of bullying some archers after being thoroughly bullied themselves by angry bill men.
Baron Rivernette takes even more casualties as he attempts to fall back, and calls for a retreat back to the safety of Crickton…
Only to be shot in the back as he flees!!! Turn 11 sees the weakened knights as the only commanding units left on the field, fleeing back toward the town.
Final result:
Lord Feldcutter is victorious! Though he failed to gain the peasants’ support, and he lost many men, he defeated Crickton’s liege and devastated their army. Will Crickton try to hold out for support, or will they surrender? Only time will tell!
This game was a constant back and forth, I honestly wasn’t sure how it was going to go until the end. Chainmail proves itself to be quick and easy to run yet again, as this game was played in less than an hour and just a little more space than usual!


The deceptively simple terrain makes for a great backdrop to a lovely game. I'm tempted to go out and buy a box of blocks for experimentation. An excellent old-fashioned report!
ReplyDeleteI know! I’m falling in love with the concept the more that I use them. The best part is that I don’t have to worry about them getting broken easily and losing money on expensive model terrain!
Delete